Performance Makeup: A How-To!
Okay we get it… Putting makeup on your kid seems like climbing up a steep wet hill with the god thunder throwing rocks at you. Been there! BUT this tutorial makes it quick, easy, and you get better with practice. 
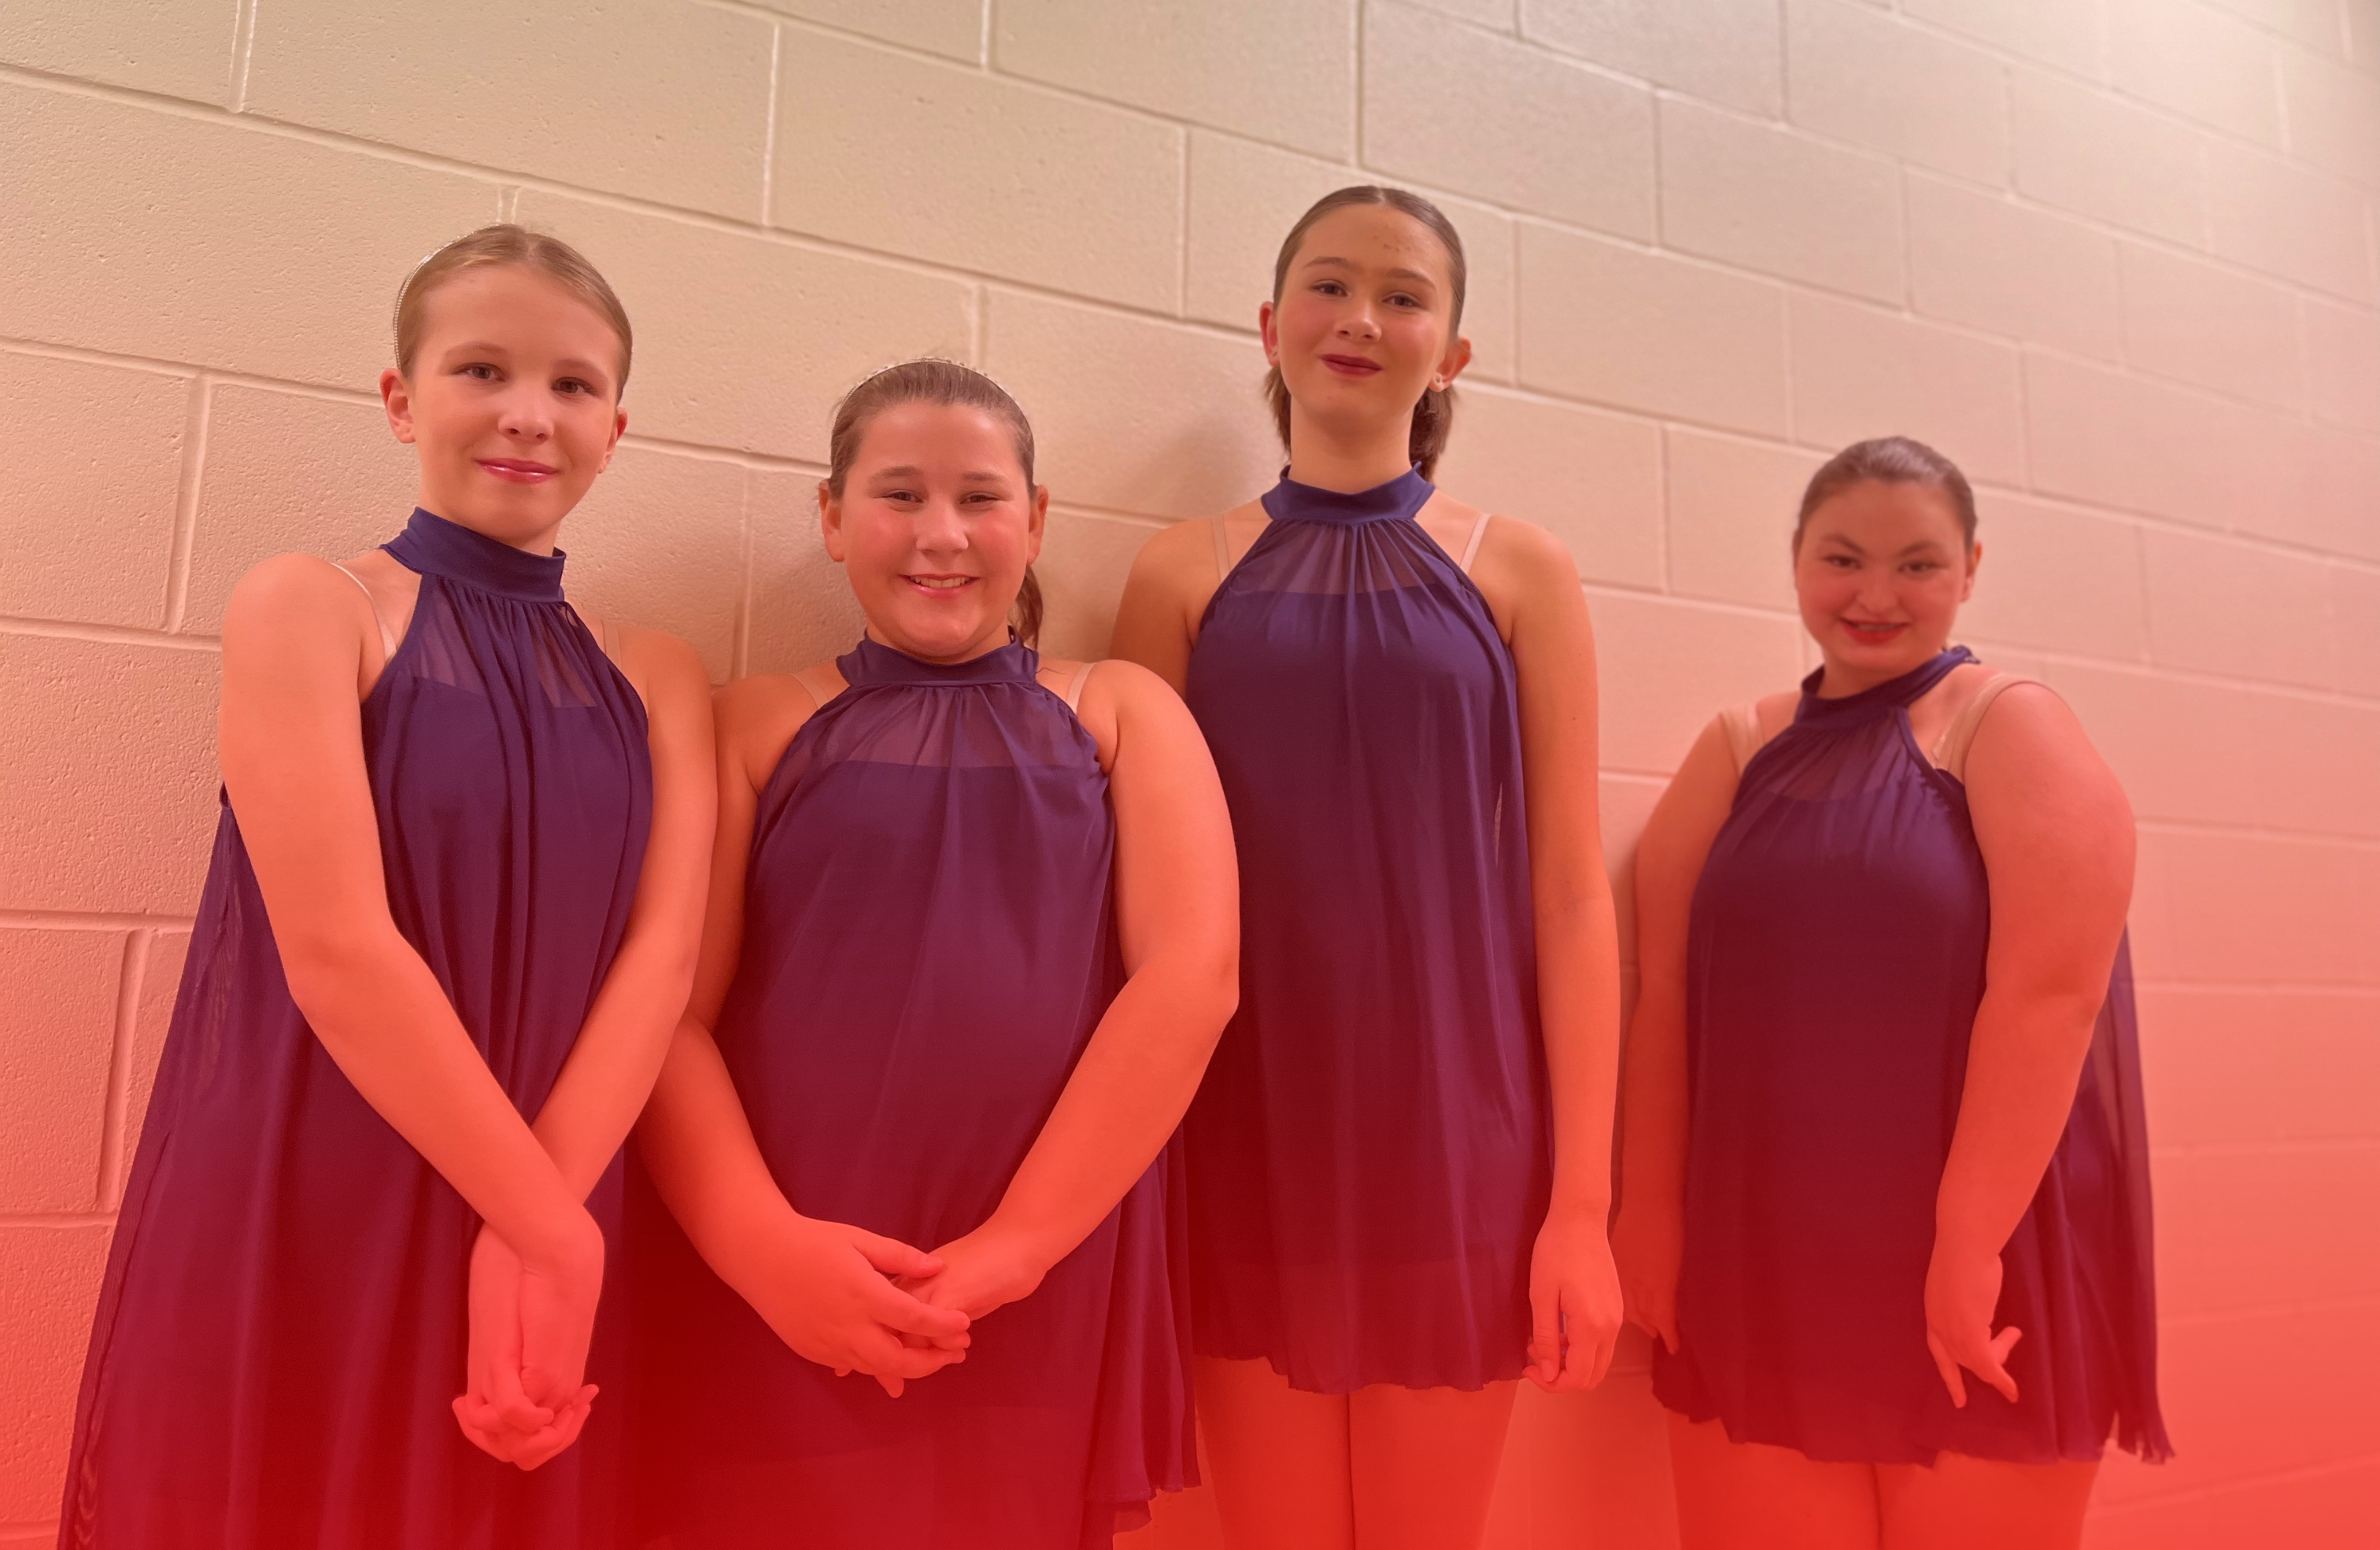
Why the heck do we require children to wear makeup on stage you ask? So we can see them! The harsh lights on the stage make great ambience but are terrible at making their sweet little faces recognizable! Trust us, you want to be able to see your angels smile at you from the stage!
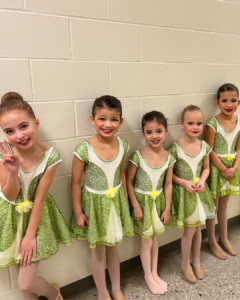
Note: Makeup for the stage will differ with age. Our littles usually get away with minimal makeup because: A) a screaming 3 year old doesn’t make for a great canvas and B) we are really just trying to get them used to wearing stuff on their face. Makeup for our senior dancers can look like Kim Kardashian’s MUA had a masterclass and every single one of our dancers was in the front row. Some of these steps can also differ because different ages have different skin care needs.
At the end of this blog will be tips and tricks for getting your child to be zen during this process. It’s gold, you’ll want to stick around!
Step 0: Prep the skin!
Start with a clean face. Put on serum if using, then moisturizer and let those things absorb into the skin before anything else is out on. You can always start eyes while you wait. Then put on a primer IF using. Primers help even the skin texture to give foundation a smooth surface for application.You can also tailor your primer to your skin needs like blurring, moisture, or oil.
** Some people prefer to start with the eyes rather than the face! This makes cleanup from flakes of mascara or messups way easier! But do what works best for you!
Step 1: Foundation!
Make sure to purchase a foundation that matches your child’s skin tone – which means you’ll need them at the store with you. An easier test is to match with the skin on the back of the hand. Most drug stores will either help you match or will have samples to open and match.
To apply foundation, you can place some of the product on the back of your own hand to dab from, or you can place some on the face. Then using a beauty blender, makeup sponge, or foundation brush cover the face in a thin layer of foundation. KEY: get under the chin and dab over the ears too!
Step 2: Eyes!
This one is long, the eyes are the windows of the soul or whatever… So bear with us!
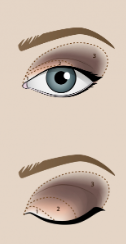 Eyeshadow: Start with a neutral colour all over the lid. We are dealing with shades of brown here. Do not go 80’s blue on us unless otherwise specified! Again, this gives you a base to work with. Then apply a darker shade to the crease, and outer half of the lid. Leave the part under the brow for highlight – this should be a light tone with a bit of a shimmer. This highlight can also be applied to the inner corner of the eye. A neutral-light shade can be applied to the inner half of the lid under the crease. This is not always needed so have your child look at you normally to determine if the darker shade doesn’t blend well with the rest of the eye.
Keep in mind that all product applied to the outer eye should sweep up following the line of the cheek bone. This creates a sleek look and doesn’t make anyone look sad.
Eyeliner: Use a black eyeliner! Liquid liner creates the nicest look but it can smell fear… So we understand if some prefer to use a more forgiving pencil liner instead. This should be applied as close to the lash line as possible and there should be no space between the lashes and the liner. Ideally, you’re feeling brave enough to create a wing at the end of the eye that sweeps up towards the brow. Make sure this wing ends in a point – think sharp enough to cut through the plastic on a bottle of wine!
Mascara: Use a black mascara! First, make sure you don’t have too much product on the spoolie (yes that’s what the mascara brush is called). Apply from the last base moving upwards. Try moving the spoolie side to side in small motions to help the product adhere to the lashes. So this until all lashes are covered. If you are only wearing mascara, do at least 2 coats. Don’t forget to also apply mascara to the bottom lashes. OPTIONAL: you can also use a lash curler before applying.
Fake Lashes: This is the best way to make the eyes pop on stage. You’ll need black fake lashes that are longer and fuller bodied than your child’s natural lashes. KEY – avoid very thick lashes that may be too heavy for your child’s eyes. You will also need a lash glue. Apply the lash glue to the fake lash line using the round end of a bobby pin. You don’t need too much. Then blow gently on the lash to dry the glue very slightly. You can use your fingers to apply or you can grip the fake lashes with tweezers (find whichever way is better for you). Now apply the fake lash as close to the last line as possible.
Step 3: Blush!
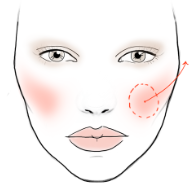 Blush should be applied to the apple of the cheek and brushed upwards along the cheekbone towards the temple. Choose a pink colour, it will look too bright at first but it looks great on stage. KEY – make sure the blush is blended with the face. You can do this by taking a bigger fluffy brush, making gentle circular motions along the cheek. There is also liquid or cream blush that can be applied with a beauty blender or sponge in the same fashion.
Step 4: Eyebrows!
 To define the brows, use a brow pencil, some eye shadow, or a brow pomade. Follow the natural shape of the brow but often a bit of defining in the middle closest to the ‘third eye’ is helpful. Not everyone needs brow definition but it adds to make the eyes noticeable. Take care not to make the brows too big on your child’s face and keep lines fairly harsh, unfortunately for us moms over here: circular brows of the 90’s are out 🙁
Step 5: Highlighter!
This may be an optional step but it’s one that can make all the difference. Highlighter is usually a lighter shimmery beige/white/gold depending on the skin tone. It is placed in areas we want to accentuate. Commonly, the tip of the nose, above the cheekbone, directly under the brows, and middle of the forehead just above the brow bone.
Step 6: Lips!
We LOVE a red lip! It helps tremendously to line the lips first with a liner the same shade or 1 shade darker. Go slow and remember that you can always fix mistakes after with a Q-tip. Do the cupids bow first, then fill in everything else. Hear us out with this one: if your child has a longer day at the competition… a higher end lipstick goes a long way. It will stay through the snack and water and multiple performances. BUT if your little one has only 1 performance, any brand will do.
TIPS
- If you have a little (aged 4-5 or under), have them lay down while doing their eyes. We often tell them to pretend to be asleep so the makeup fairy will sprinkle their luck on them after! This might be hard on your back but it keeps the squirming to a minimum!
- Mascara is easier to do while they are blinking if you are really having trouble. AND here is the golden tip: a clean spoolie or other mini brush takes off dry mascara like a magic eraser on your walls!
- Try to make the makeup process fun – Have them count each step, guess the colour, describe what they feel etc. The more they are involved in the process the less of a hassle it will become. You could also have them do each step on a doll or stuffed animal with clean brushes!
- A Q-tip with makeup remover can fix anything!
- For lips, have your child either open slightly but keep the lips loose OR have them open wider so the skin is tighter, do what works best for you!
- Ask for help! Trust us, there’s a senior dancer, dance parent, or teacher nearby that would be so happy to help! Just plan for some extra time if you know you will need it!
- Have your child help you so that they learn faster and by the time they are 10-12 they can do most of it themselves. Work smarter not harder friends!
