The Ballet Bun: A How-To!
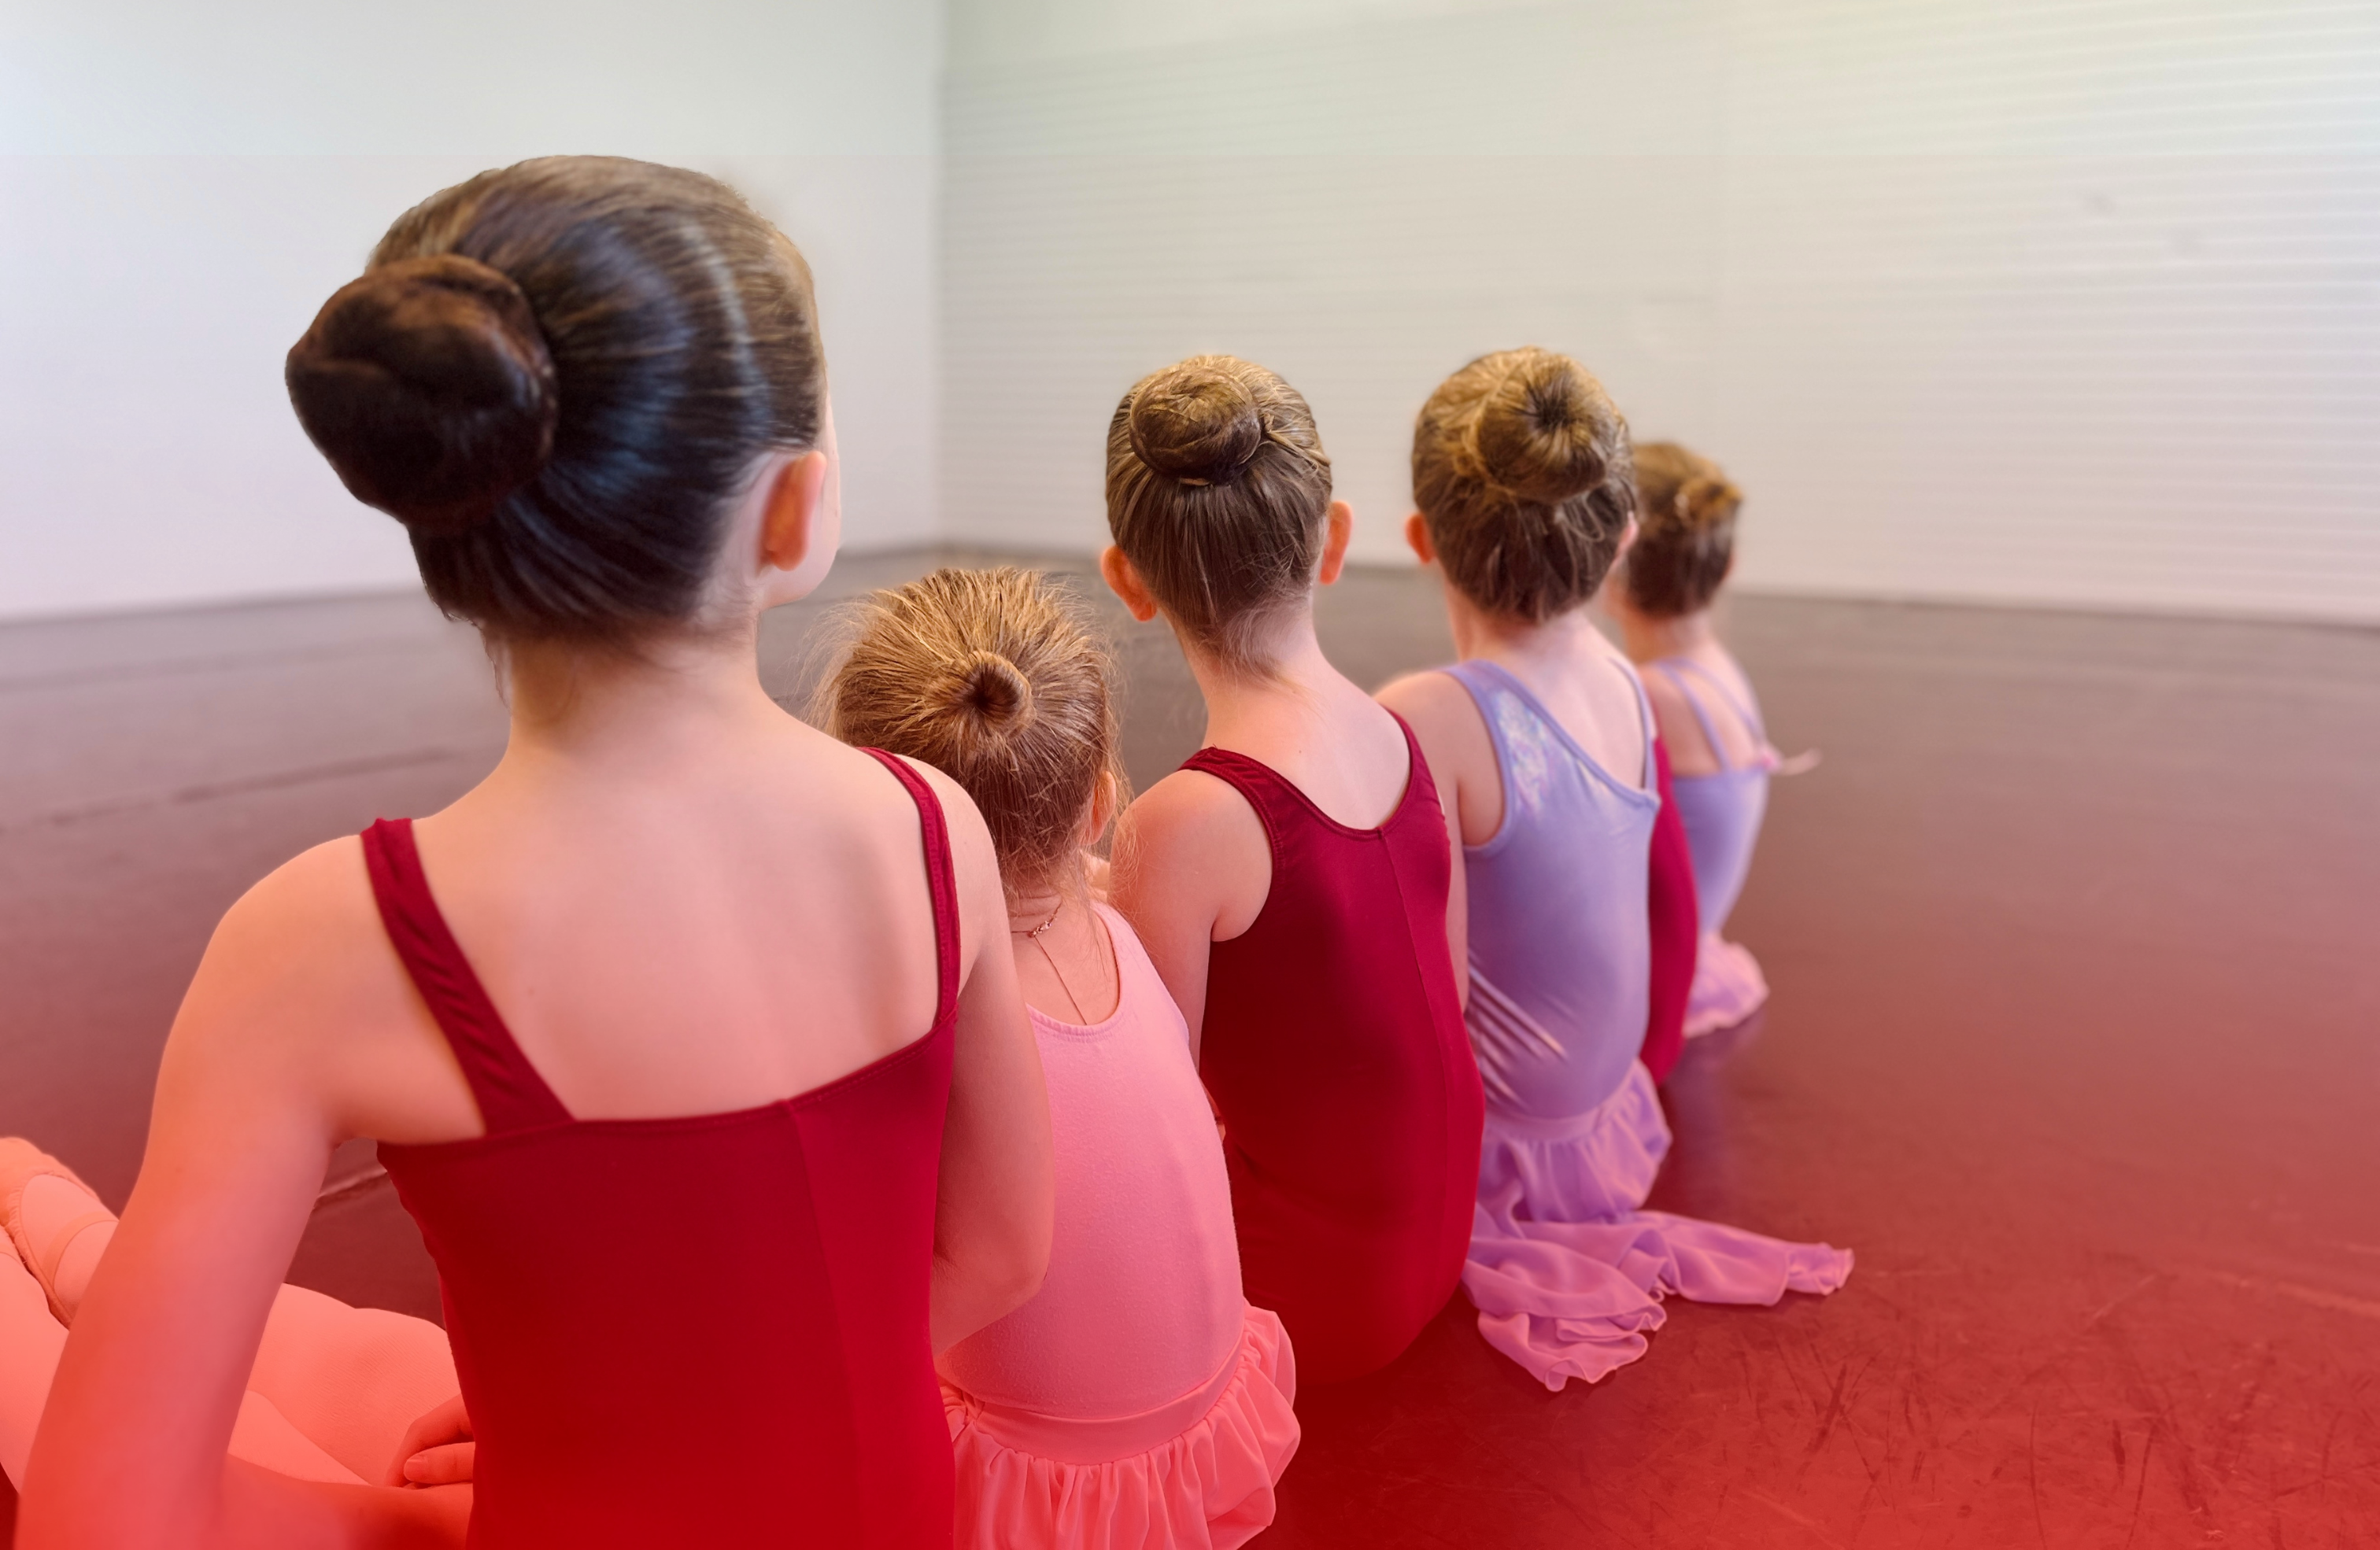
The elusive ballet bun… A timeless classic and a nightmare for dance parents everywhere. Let’s start by talking about why we require our Ark Dancers to wear their hair in a bun for many of their classes. 
First, tradition! Buns have been worn since the beginnings of ballet and can be seen even in older works of art like paintings by Edgar Degas. Second, practicality! Buns keep all hair off the face and out of the way which not only provides a cleaner look to the audience but is also easier to jump and turn with. Lastly, it keeps all attention off of everyone’s hair and on the art we love to share, dance!
Okay, onto what we all came here for… how the heck do you do a perfect bun?! To begin, you should take into account your dancer’s type of hair – thin, thick, long, short, curly, etc. Knowing this comes in handy later – we will provide tips for each!
What you will need
- Pontytail holders
- Brush & Fine tooth comb
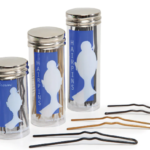
- Bobby pins – same tone as hair
- Alligator pins – same tone as hair
- Hairnet – same tone as hair
- Hair gel & Hair spray
Step by Step Instructions
Step 1: Brush hair (obvs) and then pull it up into a ponytail.
Ponytail should sit just under the crown of the head so that if you look at your dancer face to face, you can just see the top of their pony. Try your best to make sure there are no lumps or bumps and that the hair is smooth going into the pony. A great way to do this is to use a comb and brush over the head AFTER you put the pony in – any lumps close to the ponytail holder will be covered by the bun. Make sure you use a little hair spray to keep the fly aways or stray hairs in place. On competition and exam days you should do this with some hair gel – use your hands to spread some gel through the base of the hair first, then brush into a pony.
- ARK TIP: have your dancer flip their head down or touch their toes during this. It makes it way easier to get everything brushed down instead of upright.
- ARK TIP: use a spray bottle – depending on your dancer, wet hair may be easier to work with.
Step 2: Twist the ponytail and wrap around into a cinnamon bun shape.
Take the hair in the ponytail and twist it into a rope. Now wrap that rope around the ponytail holder and keep going until just the end is left. Tuck that end under the closest roll.
- ARK TIP: when tucking the end of the hair in the bun, try to tuck this into the ponytail holder itself, that way it stays in place while you do the rest.
Step 3: Put your pins in.
Here is where the Alligator pins are best. They will be curved slightly and the curve should be concave to the head, meaning the middle should stick up when placed on the head. Pick a side of the bun – doesn’t matter where. First, place the pointy end of the pin THROUGH the edge of the bun straight down towards the head, then move the top of the pin sideways closer to the head and slide the pin into the bun. This method grabs the hair and secures it, making the bun durable and less likely to fall apart! Repeat this 4-5 times depending on how much hair your dancer has.
- ARK TIP: we are going to be using a hairnet in the next step, so don’t worry about perfection here!
- ARK TIP: there are different sizes of Alligator pins. Those with thicker or longer hair will want longer pins. Those with thinner or short hair will only need the smaller pins.
Step 4: Hairnet.
Your hairnet should have a small elastic to keep the netting together. Wrap your hairnet around the bun AT LEAST 2 times. You may not have room for more wraps but if you do go ahead. We don’t want any loose netting to show.
- ARK TIP: Small holes or rips in a hairnet don’t matter! Obviously for competition or exam days, use a newer hairnet with no rips, but for class it’s all good.
Step 5: Take the pins out… And put them back in!
We know, we know. Bear with us!! Take out each pin carefully. Here is where you get to shape and flatten your bun to perfection! Move that thing around if it’s not centred, widen it out to make it flat or work out any lumps. Then, put all your pins back in the same way as in step 3.
- ARK TIP: you don’t need that many pins! Too many pins in a bun will feel unforgettable. Start with 4 – top, bottom and both sides. Then add more only as needed.
Step 6: Hairspray, hairspray, and even more hairspray.
Look people, hairspray is what makes the world go around, like it or not! Focus on the head rather than the bun. You can use a fine tooth comb, or even an eyelash spoolie to smooth out some of the bumps if there are any. On competition or exam days, you’ll want to use more hairspray and/or hair gel than normal. Think “I would make a sound if I knocked on my child’s head right now”. Trust us, it looks great on stage!
Hair Type Tips!
We promised you hair type tips. Here they are!
Thin OR Short hair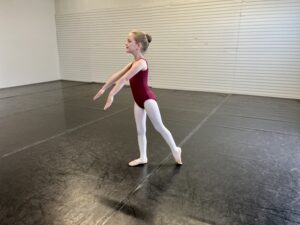
- To have a fuller, thicker bun, backcomb the hair before twisting it. OR add fake hair!
- Wet hair can be better to get a smooth ponytail
- A finer bristle brush works wonders!
Thick OR Long hair
- Combine steps 2 and 3! As you twist and lay down the hair, put a pin in and keep going like this. This makes the hair more manageable and it wont fall out as you go.
- Do two twists instead of 1 – split the hair in half before you start twisting, then do the tip above.
Curly hair
- Wetting the base of the hair with a stray bottle will help to brush it back into the ponytail. It can also help to keep curly hair moisturized
- Gel may work better than hairspray to tame those curls – use liberally
Now you’re a ballet bun master! If allowed, have fun with this. Add in a scrunchie, clip, or fancy pin. Try braiding or twisting portions back into the ponytail. Most importantly, don’t stress – there is always a ballerina or ballet teacher somewhere who would love to help, just ask!